
 Welcome to my growth chart tutorial!
I'm providing the directions for making this modern bubble growth chart that I made for my niece Sophie. I've made other growth charts for my kids with this same construction, only with different design panels so each is unique. The design options are endless really.
FYI, this is a photo heavy post. I suggest you read all of the directions before beginning.
The growth chart measures 11" by 70".
Materials:
 1 - 5.5” by 11” for the name plate background
1 - 3.5” by 11” for the letters of the name
1 - 3.5” by 11” tearaway stabilizer
1 - 3” by 65” for the growth scale
1 - 8.5” by 65” for the design panel
Scraps for circles of varying sizes (I chose cream, aqua/teal and lavender/purple, but you could use any palette you wish. I think this would look fun in bright solids or novelty fabrics too.)
Coordinating thread
Fusible web (Steam A Seam 2 Lite - ie. paper on both sides of the fusible web)
1 - 12” by 72” batting
1 - 12” by 72” backing
1 - 4” by 9.5” for hanging sleeve
Directions:
Name Plate:
- Expand the name of the child to fit on the landscape view of an 8.5” by 11” paper. Ideally the letters will be between 2” and 3” high and filled in. I used Optima font and a font size of 215. Print it out.
- Using a light box or window, flip the name to get the mirror image. Lay your fusible web over the name and trace the letters onto fusible web paper.
- Iron the fusible web and it to the wrong side of the fabric you want for the letters and cut them out.
- Lay the letters out on the name plate backing as you like and remove the other backing paper.
- Iron into place, using a Tefflon sheet or parchment paper to protect your iron.
- Add tear away stabilizer to the back of the name plate and zigzag stitch or satin stitch the edges of the letters to the background.
- Remove the tearaway stabilizer.


- Choose a variety of scraps large enough for the circles.
- On a piece of fusible web (paper on two sides, such as Steam A Seam2Lite), trace 19 circles of varying sizes from 1” to 4” and roughly cut them out. I used a scrapbooking stencil that had a variety of circle sizes, but you could use various household items.
- Taking one of your circles, remove the paper that is not marked with the circle and iron it to the back of your scrap. Repeat with the remaining circles.
- Cut the circles out along your marked lines.
- Place the circles on your design panel as you like. Once the circles are in the position you like, remove the remaining paper and lay the circle back where you want it.
- Cover the circle and background with a Teflon sheet or parchment paper to protect your iron. With your iron on the hottest setting, iron the circle through the Teflon sheet/parchment paper so that it has fused to the background. Repeat with all the circles.


- Sew the design panel to the growth scale using a ¼” seam allowance. Press seam open.
- Sew the central panel and growth scale to the name plate using a ¼” seam allowance. Press seam open. Now you have your growth chart top!
- Layer the top with the batting and pin baste.
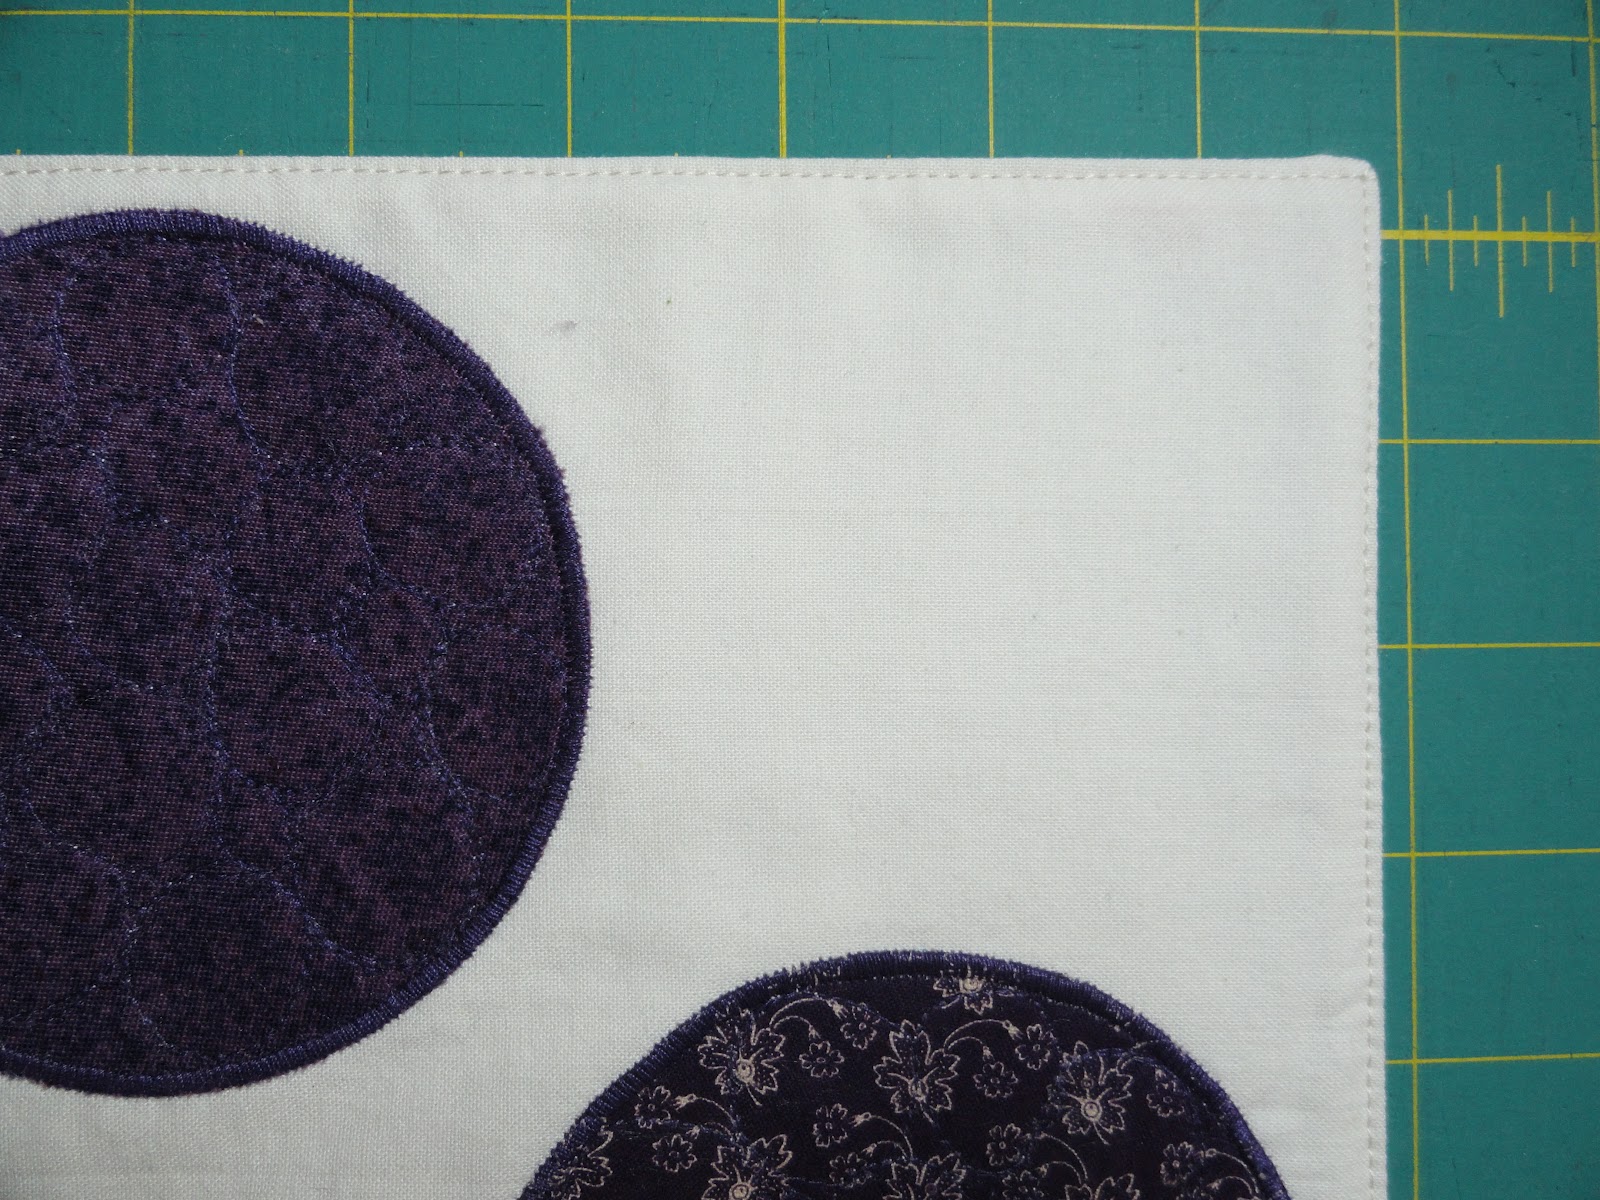
- Sew a tight zigzag or satin stitch around each of the circles. I also free motion quilted pebbles in the circles at this stage.
- Stay stitch 1/8" around the edge of the growth chart to the batting.
- Trim away excess batting.
- Make the hanging sleeve by folding in both 4” sides and stay stitching those edges. Fold in half and iron.
- Lay the hanging sleeve on top of the name plate and pin in place.
- Lay the growth chart top and hanging sleeve face down on the back and pin baste.

- Straight stitch ¼” along the edge of the background all the way around.
- Trim the backing to the edge of the batting and cut the little triangles at the corners so the corners can be made more square when it is turned right side out.
- Very carefully, feel for the hanging sleeve and mark a 3”-4” long slit about 1” from the top stitch line.
- As you are cutting, be careful not to cut the hanging sleeve or the growth chart top. This slit will be hidden by the hanging sleeve.
- Carefully reach in the slit and begin pulling the growth chart gently through the opening.
- Once the growth chart is turned inside out, iron it flat.
- Cut a piece of fusible interfacing or fusible web the size of the slit. Insert it into the growth chart, positioning it behind the slit, with the fusible side facing your slit. Iron it to secure the hole.


- Topstitch along the edge of the growth chart and along the ditch between the three sections.
- Using a ruler, mark 1” increments along the growth chart section with a water soluble pen (test it first) or lightly with a pencil. Stitch those marked lines with a walking foot or free motion foot. I used a walking foot.
- Free motion stitch in the ditch quilt around the letters of the name plate.
- Quilt the design panel as desired. I played with a few designs using my trial quilting sheet before deciding on this bubble echo. Basically, I did an echo of the circles until they met another circle, then started echoing the next circle.
- Handstitch the hanging sleeve at the back of the growth chart and voilà, you have your growth chart!


I hung our growth charts on a rod at 7 feet because I’m pretty sure my kids are going to top 6 feet. You could also use some double sided tape at whatever height you like. You probably don’t need to hang it below 12” from the ground, unless your child was smaller than 12" at birth.
I use an archival pen (Pigma Graphic 1, 1.0 mm line width) for recording my kids’ heights. I keep the pen up in the hanging sleeve so it doesn’t get lost.

Mark the height using the pen, then measure up from the ground using a measuring tape. Write in the date and the height in imperial and/or metric. Easy peasy and you don’t have to worry about writing or stitching in all those numbers!

Tip: If you are like me and
I hope this tutorial was helpful and if you have any feedback or questions, please don't hesitate to leave a comment or send me an email at mrcharbon {at} hotmail {dot} com.
See you on the quilt side!
Great tutorial; I really must do one (or two!) of these sometime to replace the fading scribbles on the wall! I love your quilting design; it works perfectly with the applique!
ReplyDeleteooohhhh thank you for the great tutorial!! I will now have to make 3 of these so it might take a while!! Such a great idea and yours are so beautiful :)
ReplyDeleteGreat tutorial, I love the bubbles!
ReplyDeleteSuch a cute idea and great tutorial. Also nice to get to know you on the blog hop!
ReplyDeleteAmanda
amanda@materialgirlquilts.com
Thanks for the tutorial, M-R. The grand kiddies are getting new rooms so I'll be back when the decor is decided! lol ps: I can't believe you used that gorgeous writing fabric for a sleeve. lol
ReplyDeleteGreat tutorial - Love the bubbles! Nice to meet you! I like your mosaic of your other completed projects too, very nice!
ReplyDeleteGreat tutorial! Thanks so much for sharing it.
ReplyDeleteThat is so freaking cool! Great job!
ReplyDeleteLove this idea, the design and your quilting! Great to meet you on the blog hop :)
ReplyDeleteVery adorable! Love the design!
ReplyDeleteThis is a great tutorial! My children are all to old for growth charts but I'd love to try a wall hanging or quilt with circles like this. I also liked the way you turned it inside out at the end. So much useful info that could easily transfer to other projects :)
ReplyDeleteWhat a totally cool project - thanks for sharing:). I'm stopping by on the Blog Hop.
ReplyDeleteI think this is the cutest growth chart ever!!! What a fabulous baby gift. You did a fantastic job and great tutorial.
ReplyDelete