 |
| Detail - Snow Crab Nebula |
Since I can't sew much, but apparently I can do dishes now (wearing a rubber glove of course), I decided it was time to play with my new Procion MX dyes before the snow disappears completely. So. Much. Fun! It's messy, it's cold, it's wet, but it's fun! I read a bunch of other people's experiences across the Internet (Thank you wonderful people for sharing your good and bad experiences so I could learn!) and then figured out what I wanted to do.
For those that like details on how I did it, check out the rest of the post after the photos. For those who like pretty photos, here you go:
This:
 |
| Yellow and Orange Snow Dyeing |
Turned into this:
 |
| Yellow |
 |
| Orange - Upper Layer |
 |
| Orange - Lower Layer |
This:
 |
| Red Snow Dye |
Turned into this:
 |
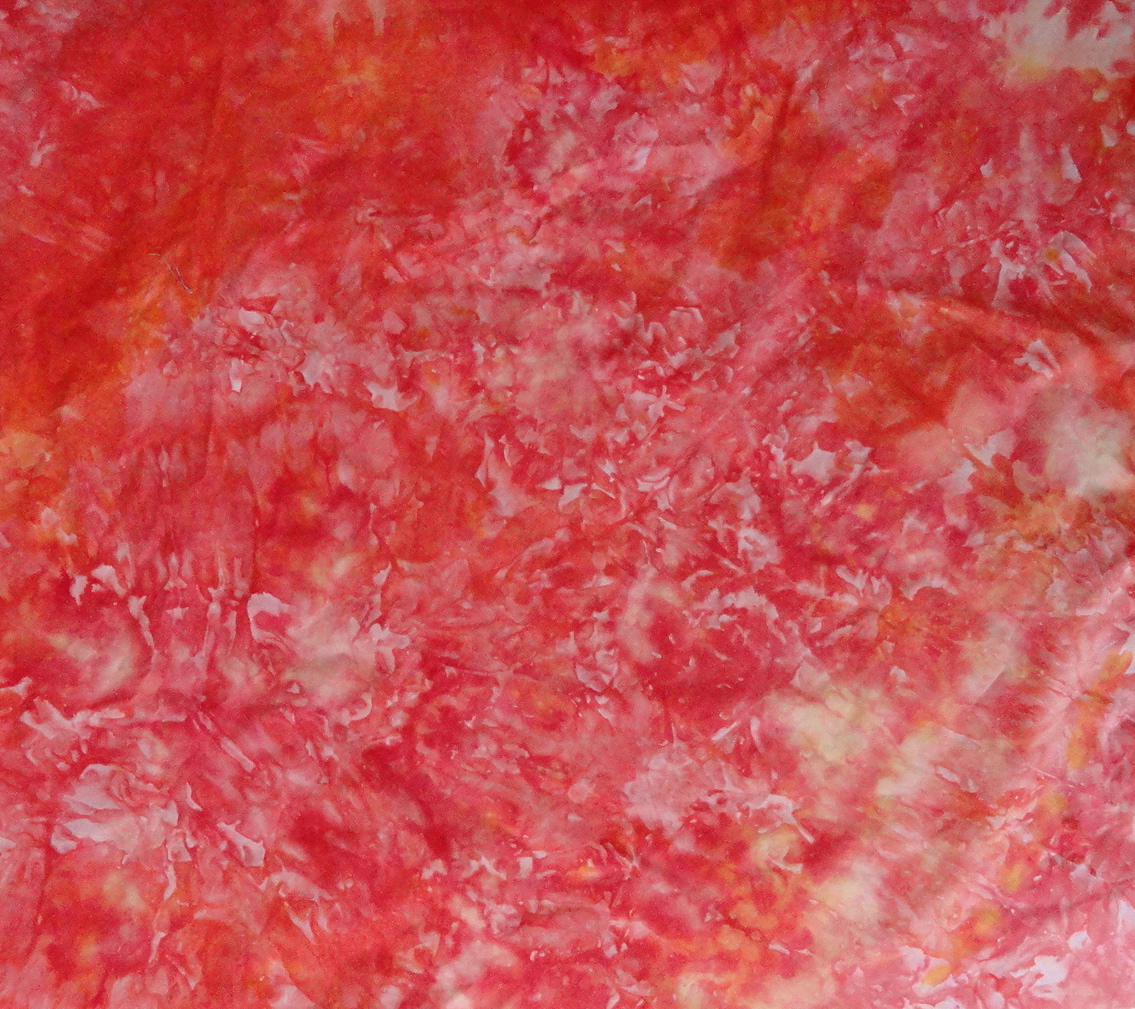
| Red - Upper Layer |
 |
| Red - Lower Layer |
This:
 |
| Purple Snow Dye |
Turned into this:
 |
| Purple - Upper Layer |
 |
| Purple - Lower Layer |
And this:
 |
| Yellow, Red and Purple Snow Dye |
Turned into this:
 |
| Snow Crab Nebula - FAVOURITE! - Upper Layer |
 |
| Rorschadt test anyone? - Lower Layer |
All in all, I'm thrilled with this experiment and can't wait for the snow storm we're supposed to get on Wednesday to do more. Maybe some on the cool end of the spectrum?
Snow Dyeing Details:
I soaked my 100% prepared for dyeing (PFD) cotton fabric (although there was a couple of pieces of regular muslin thrown in too) in a 1 gallon hot water, 1/2 cup soda ash, 1/2 cup salt solution for a couple of hours.
I wrung out the fabric and placed one fat quarter-ish sized piece in the bottom of a plastic container, then I put another piece of fabric in a plastic strawberry or blueberry container (with holes at the bottom for the melted dye to leak through) on top of the first container of fabric. I did five sets of these doubled up containers.
Next, wearing my mask, I mixed 1 tsp of dye powder with about 2 cups of snow (a large yogurt tub-full) so that the snow was a bright colour. I used Procion MX Golden Yellow 104, Strongest Red 312N and Mixing Blue 402C for the dyes. I did yellow, orange (1/2 tsp yellow and 1/2 tsp red), red, and purple (1/2 tsp red and 1/2 tsp blue) containers. Then I did one container with yellow in the middle, red around the yellow and purple around the red.
I left the containers in my garage until the snow melted (about 18 hours) and then moved the containers indoors to get to room temperature (about 3 hours). While I waited for the snow to melt, I periodically poked any white bits of fabric back that I could see back under the snow or into the dye.
When the batching was done, I soaked the fabric in blue Dawn dish detergent and water, as per
Jane Dunnewold's recommendation, and rinsed the fabric until no more dye came out. Then I ran it through my washing machine's rinse cycle. I dried it, ironed it, and then accosted pretty much anyone who came to my house to show them the pretty fabric. :D
Linking up with Lee at
Freshly Pieced!


That certainly looks like fun! The results are lovely too!
ReplyDeleteBeautiful!!!
ReplyDeleteHow much fun is this!! I have never heard of this before! It looks like so much fun! I don't know if I would have the patience to wait till they were done! What kind of fabric did you start with?
ReplyDeleteGreat fun! There are so many ways to dye.
ReplyDeleteI still have to take pictures of my after results from my recent experiments.
We have no snow left in Niagara. Maybe I will get another chance with snow this winter ... maybe not.
Great pictures.
Jo
Thanks for explaining how this whole snow-dye thing works. I had only heard about it last week and couldn't really imagine anything about it. The outcome is amazing!
ReplyDeleteBeautiful fabric!The purple upper layer is fantastic! Thanks for sharing the details: I might try it next year.
ReplyDeleteThe results are terrific .. not sure if I would have the patience!
ReplyDeleteVery pretty fabric. I have never "snow" dyed fabric, but I have done some low immersion dyeing with similar results. Now the hard part will be cutting into them!
ReplyDeleteIt looks like you got the grip of it. :-)
ReplyDeleteBeautiful result. Never tried it myself.
Hope your arm will better soon.
This is gorgeous!!! Too bad it never snows here.
ReplyDeleteI love seeing hand dyed fabrics but I have no idea how I'd use it. Thoughts?
ReplyDeleteWow--your snow-dyed fabrics look gorgeous! I'd love to start dyeing fabric, but I can tell that I'd become completely addicted, and between dyeing and quilting, I wouldn't have time to work and keep a roof over my head!
ReplyDeleteI have been wanting to try this - probably have to wait until next winter - but wow! You got beautiful results!
ReplyDeleteWow! Those are BEAUTIFUL!! We're going to be dyeing fabric at my quilt retreat next month but even the Alps probably won't have snow by then. :-( Something to definitely keep on the list to try next snow season. Thanks for sharing all of the pictures & your tips too. Well done!
ReplyDelete